Featured
Table of Contents
Some Known Details About Heliosa 44 - Short Wave Infrared Outdoor Heater
A handful of exterior heating units are fitted with integrated heating controls, such as a warmth dimmer switch or a dial to switch over between warm settings. Despite their name, these heating systems are commonly designed entirely for usage in interior or protected locations.
Take pleasure in pleasant outside entertaining all year long from a crisp fall evening to the chilliest of winter nights. No matter just how huge or tiny your exterior enjoyable area we have actually got the ideal outside area heating unit to keep your visitors toasty cozy and maintain the party going much longer.
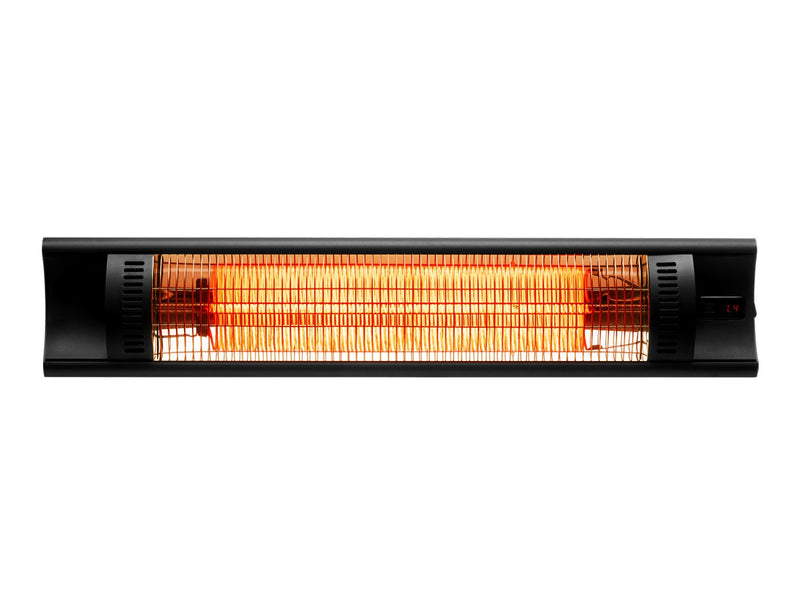
For wall surface installing, the cheapest part of the heating system must be located at or above a minimal height of 1. 8m from ground degree, to make sure that the heater can not be touched when in operation. Constantly install flat and also do not place the heating unit at an angle of greater than 90 and much less than 45 The heating system need to always have a minimal clearance of 0.
The Only Guide for Outdoor Heaters Are Very Inefficient – Here's How To Keep ...


The heater must be installed on the installing braces offered. Secure the heating system securely on the brackets using the nuts and also screws provided. The braces can be utilized to adjust the direction of the heater. Adjust the heating system angle by loosening up the two screws on the wall surface mounting bracket. Tighten the bolts once again when the desired angle is gotten to.
Table of Contents
Latest Posts
Unknown Facts About Radiant Wall, Ceiling & Portable Outdoor Heaters
8 Easy Facts About How To Season A New Bbq Plate: The Essential Guide Shown
Best Outdoor Heaters In 2023 - Review By Garden Gate Fundamentals Explained
More
Latest Posts
Unknown Facts About Radiant Wall, Ceiling & Portable Outdoor Heaters
8 Easy Facts About How To Season A New Bbq Plate: The Essential Guide Shown
Best Outdoor Heaters In 2023 - Review By Garden Gate Fundamentals Explained